MATERIALS
-Wood clamps
-wood glue
-wood
-12 pieces total (3.5 x .75)
-6 cut 46 in
-6 cut 64.5 in
-3 (left over pieces)cut 21 in
-10 cement blocks
(Total = $60)
-Measurements are based on standard bench cushions. You can change your wood length based on your cushion!
-First bench pieces cut according to your cushion length
-2nd bench cushion add 18 inches to the cushion length to allow for corner area
STEPS
FOR SHORT PIECE:

1)Glue & clamp 2 pieces of wood together at a time
2) Glue & Clamp all 3 clamped pieces together
3) Glue & Clamp two 21 inch wood pieces horizontal across the bench (Allow 9 inches on each end to place cement blocks)
4) Add optional screws for support
FOR LONG PIECE:
1)Glue & clamp 2 pieces of wood together at a time
2) Glue & Clamp all 3 clamped pieces together
3) Glue & Clamp four 21 inch wood pieces horizontal across the bench (Allow 9 inches on each end and between two middle pieces to place cement blocks)
4) Add optional screws for support

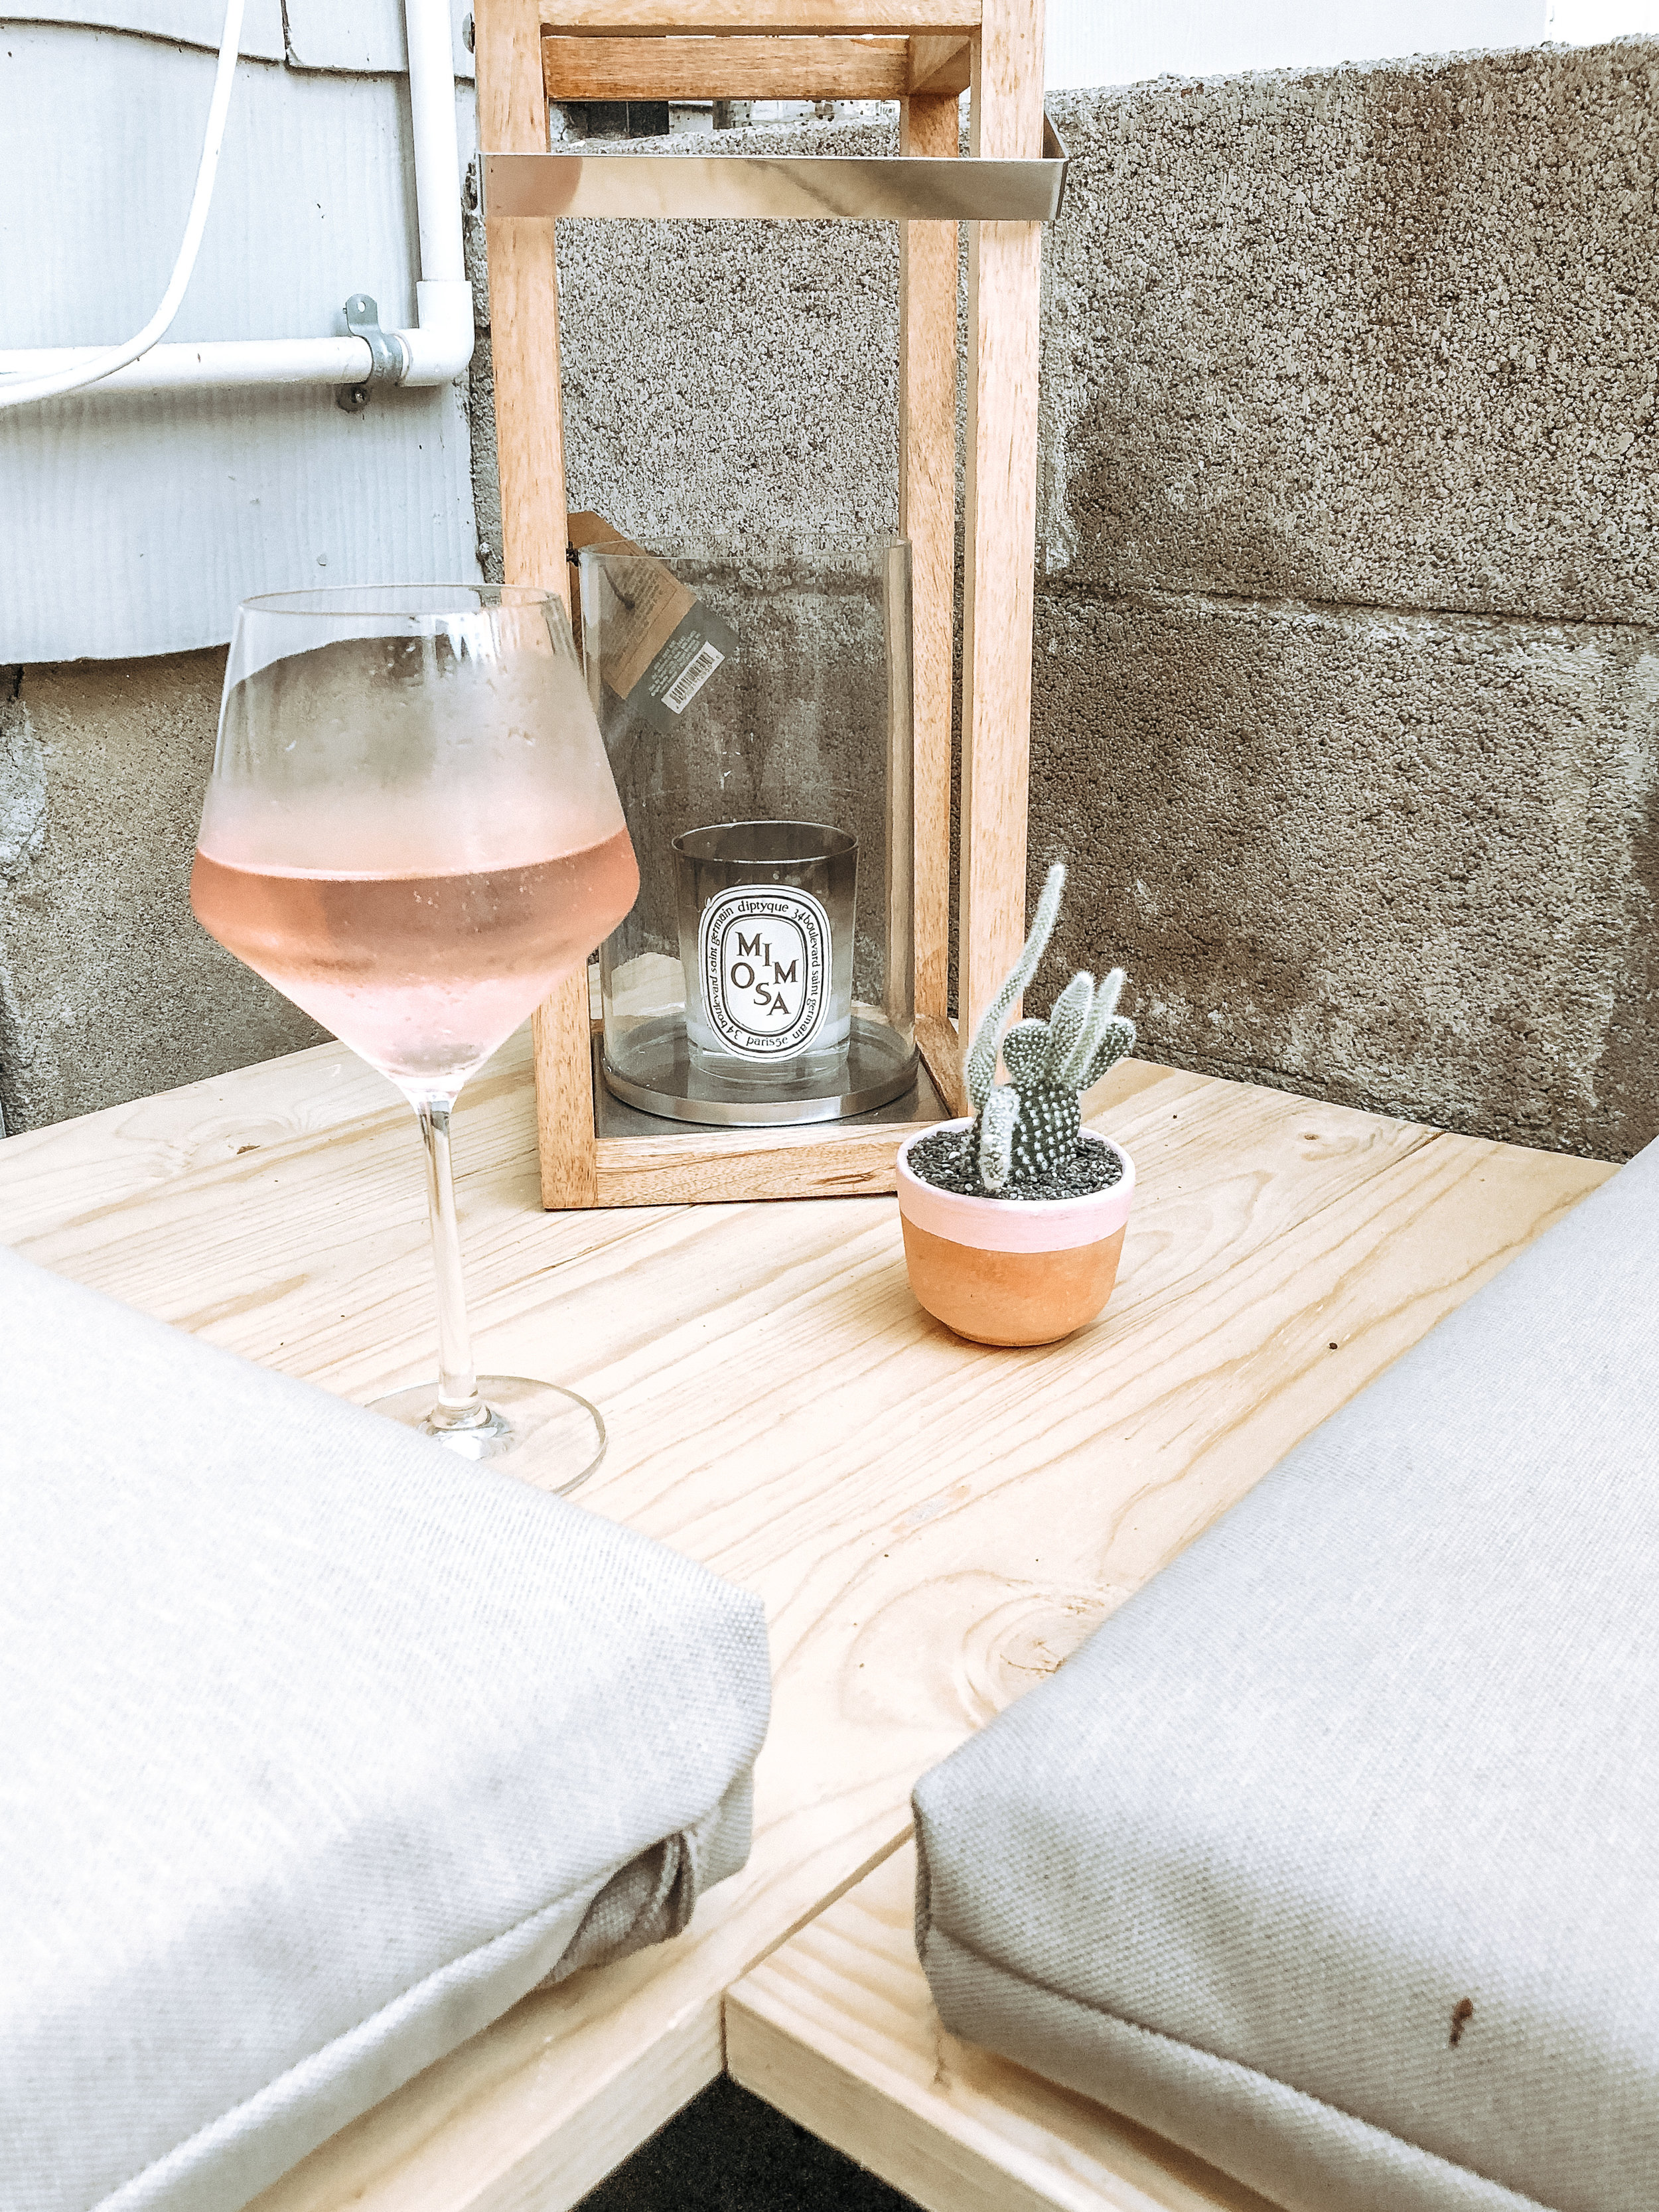
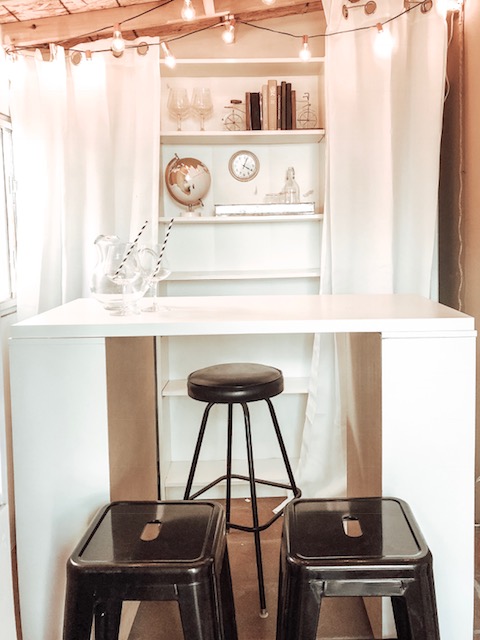
NOW STYLE!
Table = Target $20
Cushions = target $30 each
pillow: home goods $16
Items are seasonal and may not be available year round*